


Today we bring to all of you, how to build a stop motion camera with a rasperry pi & nodejs with on-screen controls
Source Code at GitHub:
Schematic & wiring is down below.
Different from other videos, this project is reliying heavily in code and software, i believe is interesting
why i'am using a combination of software that is not common for this purpose.
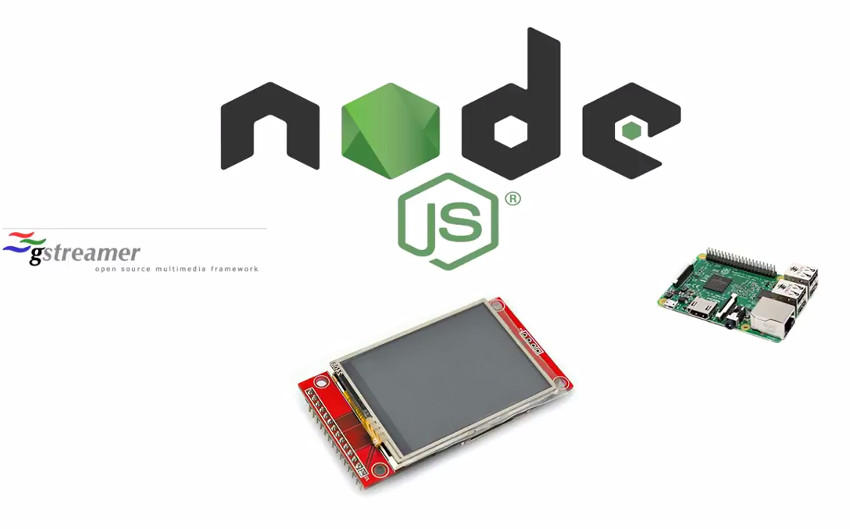
This combination is going to be a mix of nodejs that interacts with the tft lcd drivers, GPIO drivers for user input, gstreamer for the manipulation of the video preview
plus fswebcam to take the actual pictures. Also, i am going use in-built nodejs feature for file I/O and image generation with canvas.

In a nutshell, the logic flow behind the project is like the diagram i'm showing, pretty simple.

So in the list of libraries and utilities we need, are:
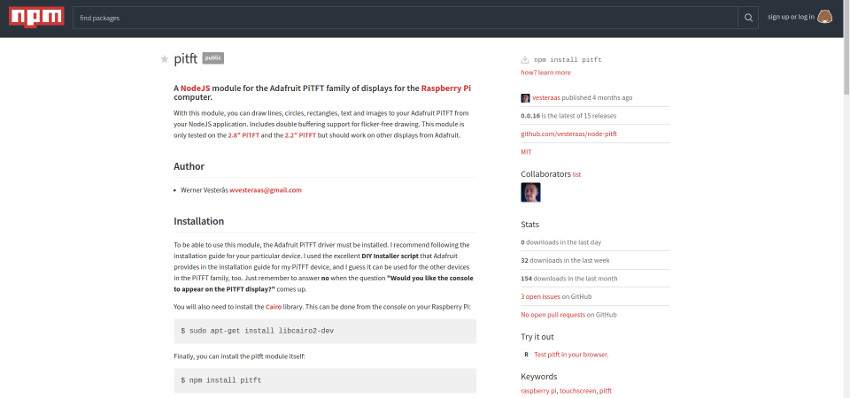
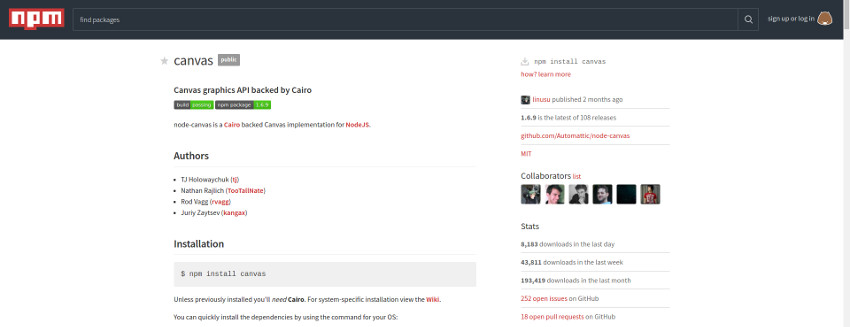
On the npm side of things we will use several modules:
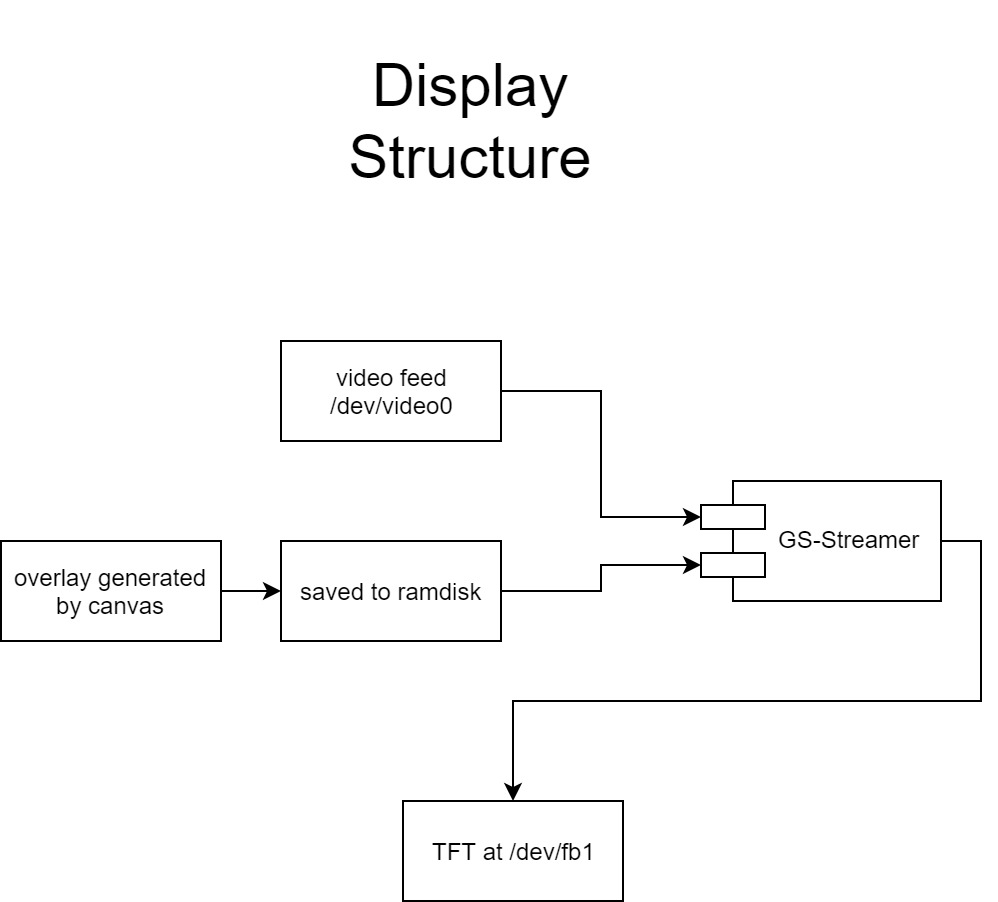
As can be seen in the diagram, the flow of data is managed from gstreamer.
it gets the video stream, and the menu overlay generated by canvas in nodejs
and show it in the lcd.
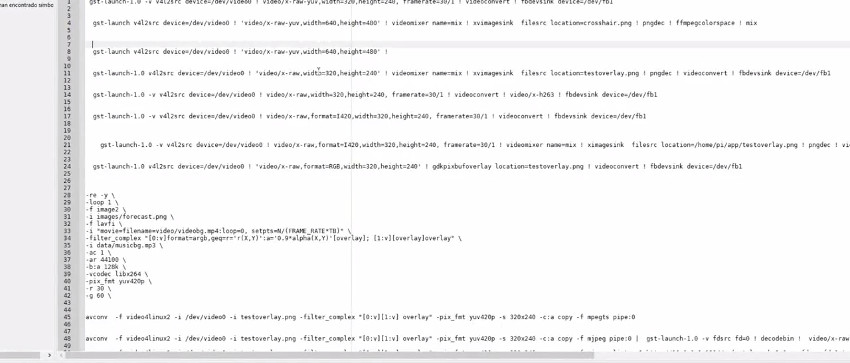
i want to note that gstreamer has dozens of plugins to get, manipulate and merge video streams and images
but after a lot of tries that you can see here, the mix i used in the final version of the source, was the
best one that worked with the current setup.
So after installing all the modules and the dependencies i mentioned, is time to set up the enviorment.
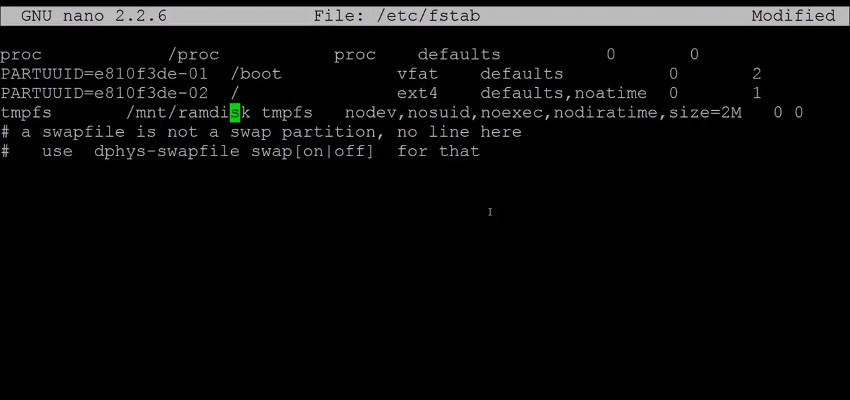
We must create a ramdisk to store the generated overlay. is needed why on rasperry pi, you get file read error by
reading constantly from the SD card.
To do this, you must edit with sudo /etc/fstab and add the following line, then reboot:
tmpfs /mnt/ramdisk/ tmpfs nodev,nosuid,noexec,nodiratime,size=2M 0 0
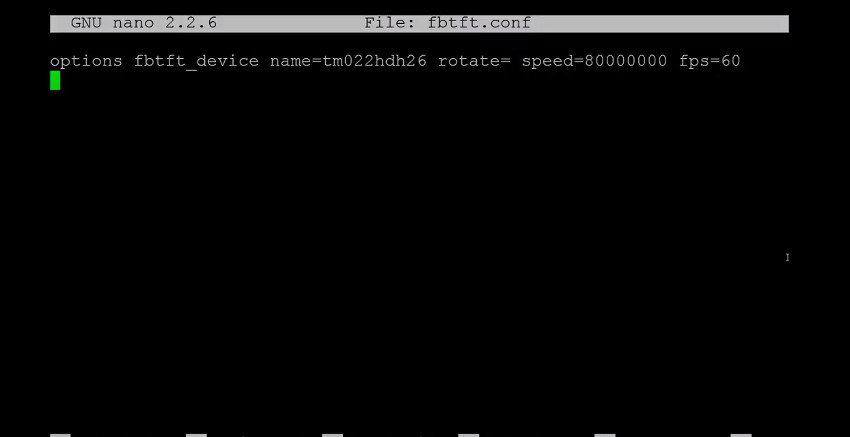
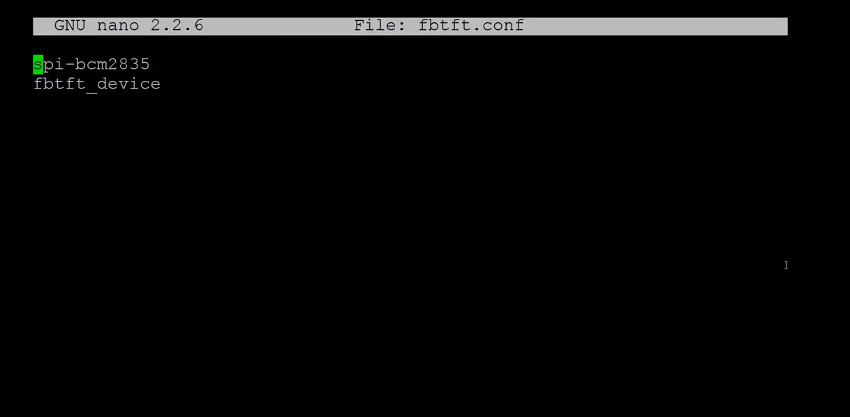
Also, is a must to setup the tft driver, in this case using a 2.4 inches lcd with IL9341 control ic
You must edit the fbtft driver config files, setting up the lcd ic model plus the roation.
The file to edit is: /etc/modprobe.d/fbtft.conf & /etc/modules-load.d/fbtft.conf
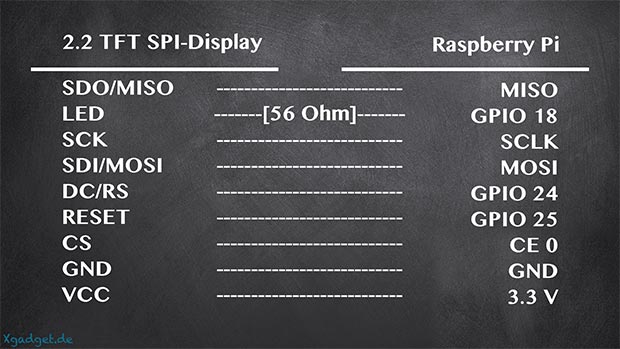
After the driver is set, then only thing left is to hook the lcd like this.

Now is time to wire the push buttons to the gpio pins, to get the user input, like in the followin schematic
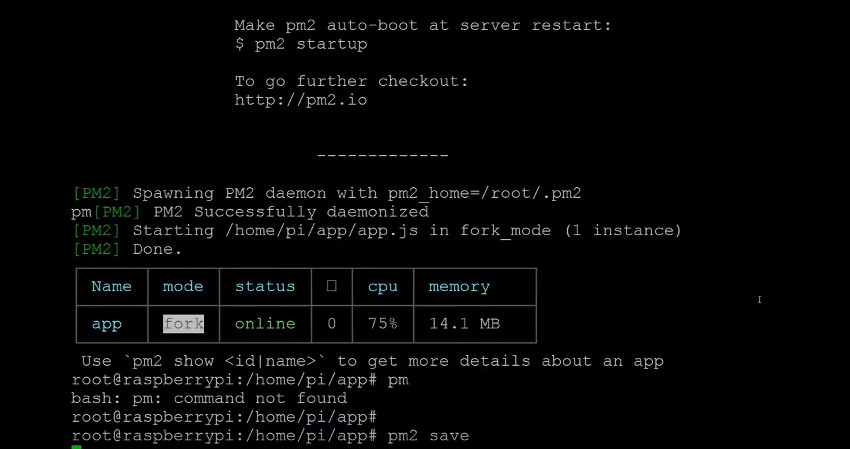
After all is installed and setup, you can configure pm2 to start the script on boot as a daemon
The good news is that pm2 has inbuilt functions to start the scripts on boot.
The following commands must be executed:
pm2 start app.js
pm2 save
pm2 startup systemd -u root
The code in javascript consist in only one file and has a very simple structure. first we import the modules and initilize the lcd with pitft
then we declare the properties to capture the images with node-webcam
afterwards we update the overlay and start the livefeed with gstreamer.
the rest of the code, is just the listener for the input buttons from the gpio and some utility functions
You can find the link to download the full source code here.
i also 3d printed a simple open case, to hold everything togheter
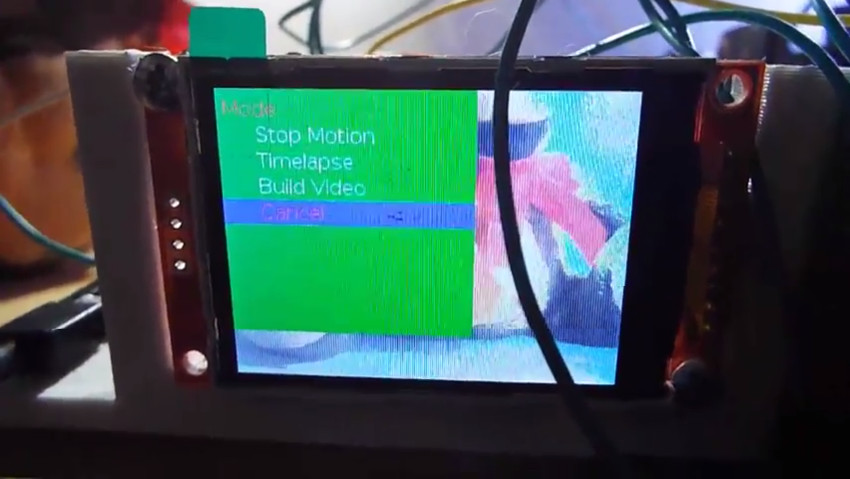
Also, you can see how all the button works and make the overlay appear on the screen, togheter with the live video feed from the webcamera.
The livefeed works perfectly, except for a flickering that happens everytime an image is taken, as is needed to kill gstreamer feed to take the pic itself and then start it again.
At last but not least, Here is a showcase of a rotating plushy stop motion video, generated by this experiment (all of this in the video at top of the page).
Remember that all source code is at GitHub:
Well, that's all for today, we hope this could be useful for your current & future projects ! see you in the next one!